
Water staining beneath a window, cracking to a rendered wall or concrete spalling from a balcony edge may look like isolated maintenance issues. They can also be visible evidence of a wider failure involving waterproofing, drainage, structural movement, corrosion or construction detailing. A disciplined building defect investigation checklist helps strata committees, asset managers and property owners move from assumption to evidence before committing funds to repair work.
The purpose is not to produce a longer maintenance list. It is to establish what has failed, why it failed, how far the issue extends, what risks must be controlled and what repair approach will provide a durable outcome. That distinction protects the asset from cosmetic works that conceal a defect without resolving it.
Start with risk, access and the investigation brief
An investigation should begin by identifying immediate hazards. Loose facade elements, falling concrete, active water entry near electrical services, trip hazards and signs of structural instability require prompt controls before detailed testing begins. Depending on the condition, this may involve exclusion zones, temporary weather protection, propping, restricted access or an urgent engineer review.
The investigation brief should then define the decision that needs to be made. Is the owners corporation trying to understand recurring balcony leaks? Is a commercial owner assessing the extent of concrete deterioration before budgeting a capital works project? Is there a suspected Class 2 building defect requiring coordinated input from registered practitioners and engineers? A clear brief prevents unfocused inspections and makes sure the resulting report can support approvals, scope development and procurement.
Gather available records early. Original drawings, specifications, past repair invoices, waterproofing warranties, maintenance logs, defect reports, photos, approval documents and previous engineering advice can reveal repeated patterns. They are useful context, but they are not proof that the installed condition matches the documentation.
Building defect investigation checklist: evidence to collect
A reliable investigation follows the path of the defect rather than stopping at the first visible symptom. The checklist below provides a practical framework for documenting that evidence.
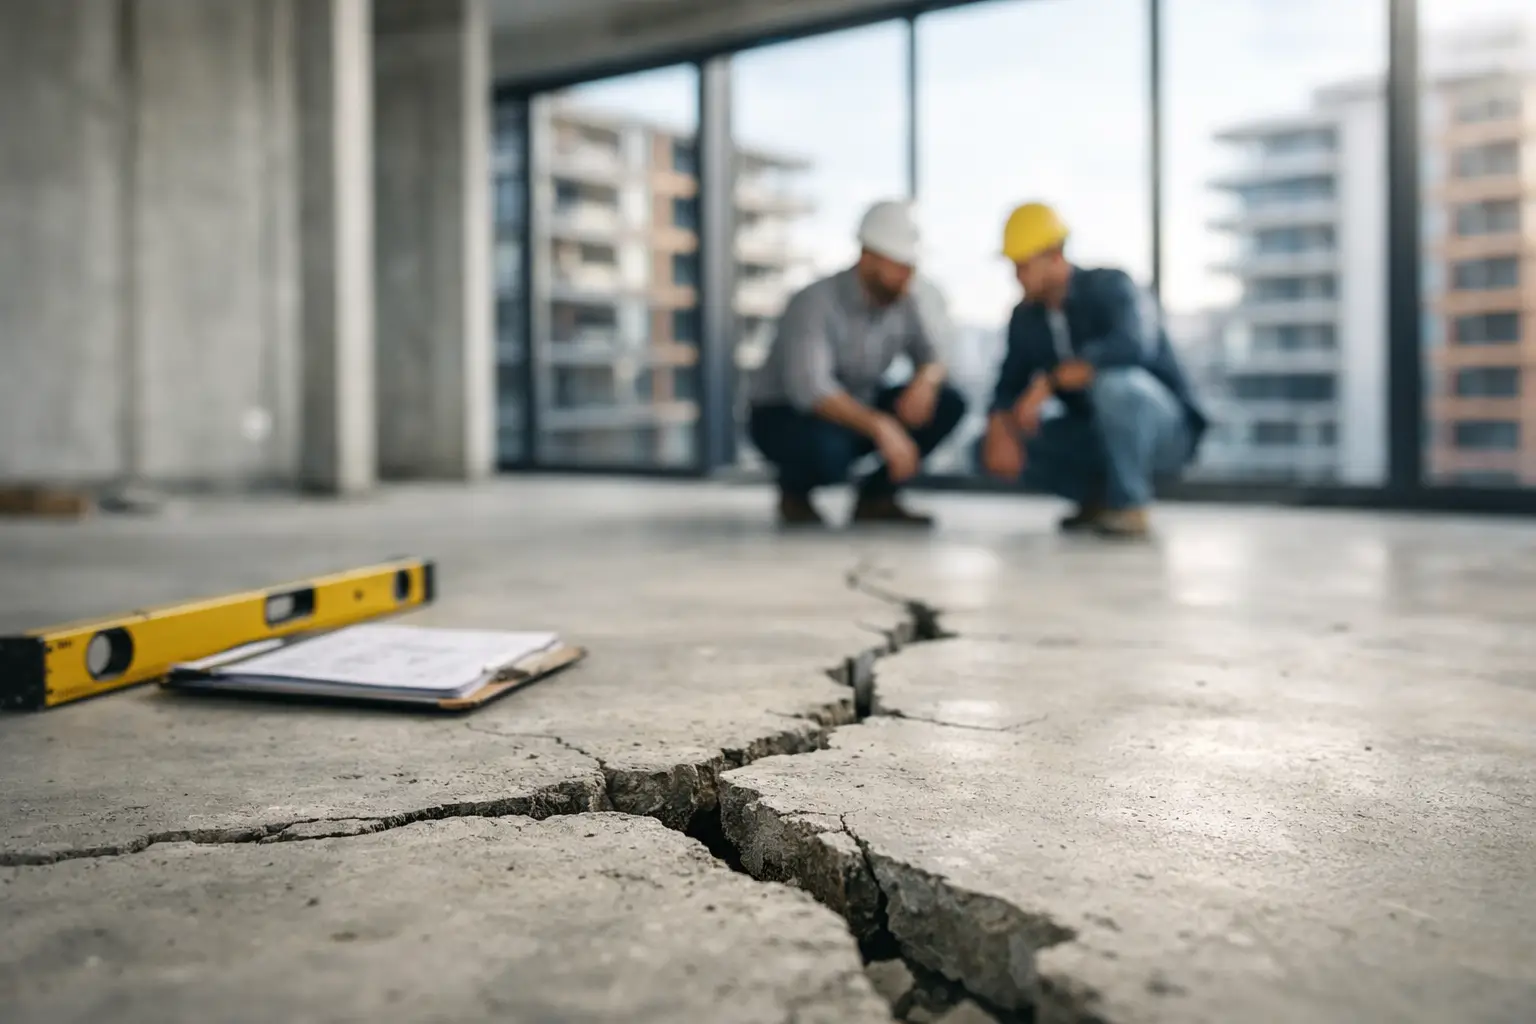
- Record the defect location and pattern. Mark elevations, floor levels, unit numbers and orientations. Note whether cracking follows joints, slab edges or openings; whether staining occurs after wind-driven rain; and whether spalling is concentrated on exposed balconies, car parks or coastal-facing elevations.
- Document condition visually. Take dated, high-resolution photographs with scale references. Record cracking widths, rust staining, efflorescence, failed sealants, ponding, drummy finishes, deteriorated joints, corroded fixings and displaced facade components.
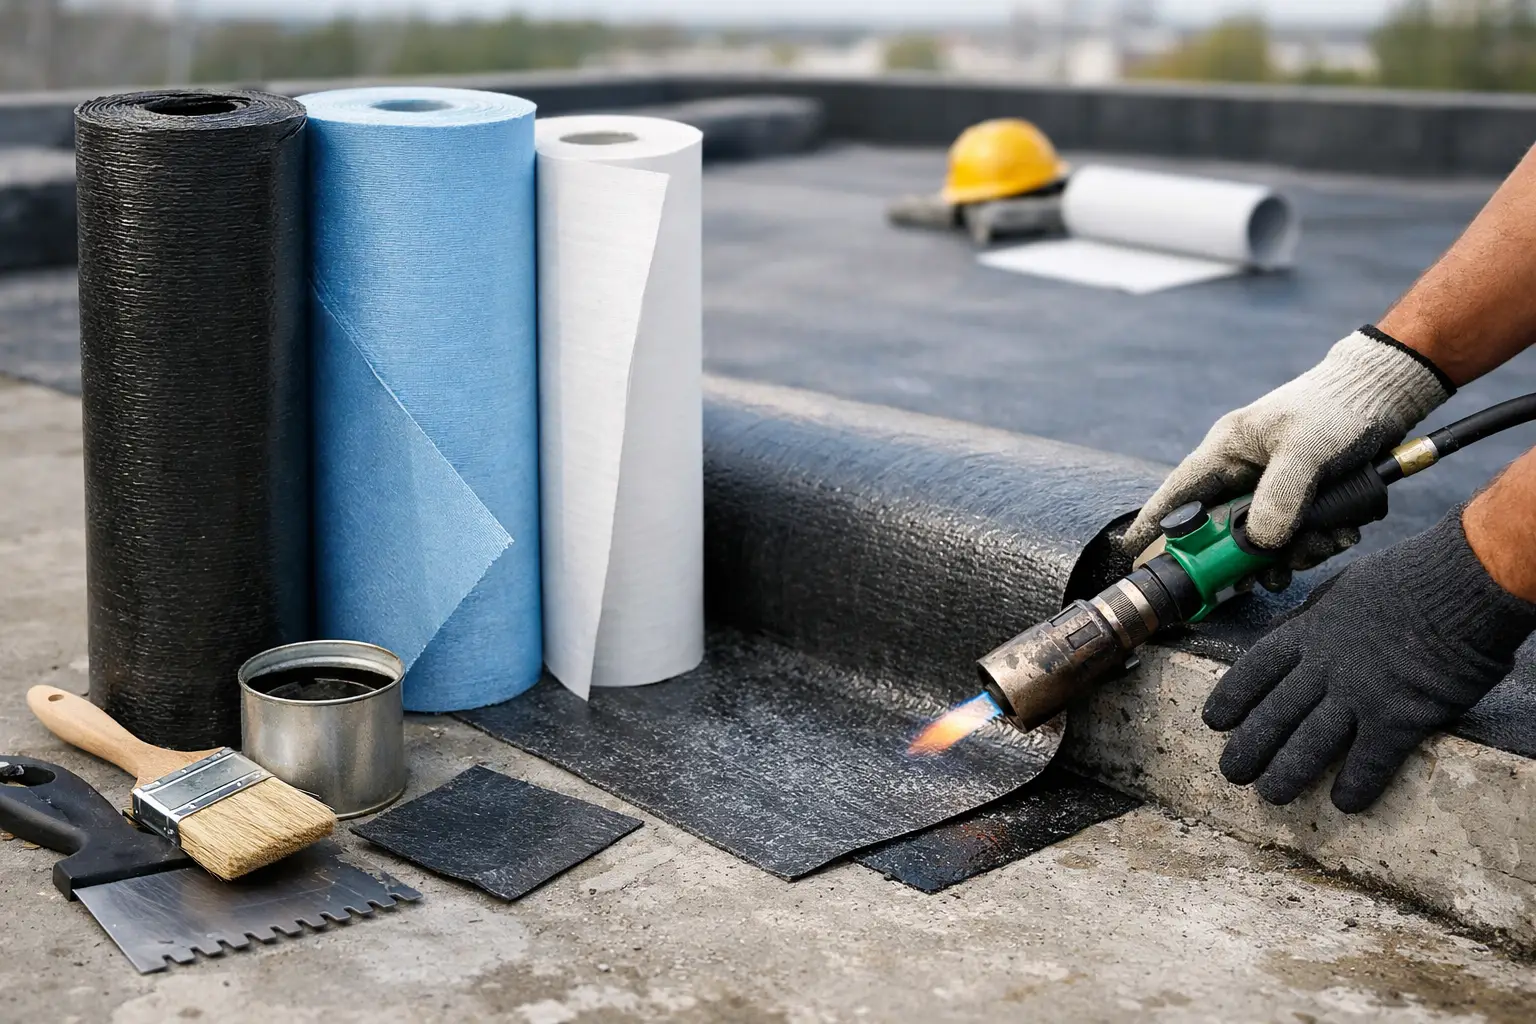
- Trace likely moisture pathways. Review roofs, parapets, balcony thresholds, membrane terminations, flashings, planter boxes, drainage outlets, penetrations, window interfaces and movement joints. Water may travel laterally or through concealed cavities, so the entry point can be distant from the internal damage.
- Assess material deterioration. For concrete, identify delamination, exposed reinforcement, cracking, carbonisation risk and chloride exposure where relevant. For masonry and heritage fabric, assess mortar condition, salt attack, moisture retention, incompatible coatings and movement at interfaces.
- Check structural indicators. Observe crack direction, width and change over time, deflection, movement at joints, bearing conditions and any signs that elements are no longer performing as intended. Structural concerns should be assessed by an appropriately qualified engineer.
- Confirm previous repair performance. Map patched areas, coatings, sealant replacements and membrane works. A failed repair often indicates that the cause was not addressed, the detail was incomplete or adjacent deterioration was left untreated.
The record should distinguish observations from conclusions. For example, “corrosion staining is visible at balcony slab edges” is an observation. “The waterproofing membrane has failed” is a conclusion that requires supporting evidence. This discipline matters when a project later moves to engineering, approvals or dispute resolution.
Select testing that answers a specific question
Testing should be targeted, not performed simply because it is available. The right method depends on the building system, likely failure mechanism, access constraints and the level of certainty needed to develop a repair scope.
Non-destructive methods can include moisture meter readings, thermal imaging, infrared surveys, sounding of concrete or tiled finishes, crack monitoring and drone-assisted facade inspections where suitable. These methods help identify patterns and prioritise locations for closer inspection, but they have limitations. A thermal image, for instance, may indicate a temperature variation, not definitively prove a leak.
Intrusive investigation is often necessary when concealed layers must be verified. This can involve opening wall linings, removing limited areas of cladding or tiles, exposing waterproofing terminations, conducting flood testing, taking concrete cores or collecting samples for laboratory analysis. Openings should be carefully selected and made safe afterwards. The value lies in confirming construction build-up, material condition and the interface details that commonly cause failure.
For concrete cancer, testing may include cover meter surveys, carbonation depth testing, chloride analysis and condition mapping. For water ingress, controlled hose testing or flood testing can be useful where the test setup reflects actual exposure conditions. A test result is only meaningful when it is interpreted alongside the building’s design, history and observed condition.
Identify the root cause, not just the damaged finish
A defect investigation becomes useful when it connects symptom, mechanism and cause. Internal mould, for example, may relate to a roof leak, failed facade sealant, bridging at a balcony threshold, inadequate drainage, condensation or a combination of factors. Repainting the affected ceiling does not resolve any of those mechanisms.
Root-cause analysis should consider design, materials, workmanship, maintenance and environmental exposure. A balcony membrane may have reached the end of its service life, but it may also have failed early due to poor falls, inadequate termination heights, incompatible finishes or penetrations installed after completion. Concrete spalling may be accelerated by water entry through failed joints, not simply by age.
There is also a practical trade-off between investigation depth and certainty. Minor, accessible defects may justify a focused inspection and local repair. Recurring defects across multiple lots, deterioration to structural elements or failures involving occupied spaces usually justify broader investigation. Spending appropriately on diagnosis can avoid a far more expensive cycle of partial repairs, disruption and repeat mobilisation.
Turn findings into an engineered, deliverable scope
The investigation report should clearly set out the defect locations, evidence collected, likely causes, risk rating, recommended further testing and proposed remediation principles. Where design input is required, the findings should be coordinated with the relevant engineer and registered design practitioner. This is particularly important for regulated Class 2 remediation, where compliance obligations and design documentation may apply to the proposed works.
A repair scope should state more than the product to be applied. It needs to define preparation, demolition or removal requirements, substrate repairs, drainage and waterproofing details, movement joint treatment, protection of adjacent areas, quality hold points, testing, finishes and reinstatement. It should also identify temporary works, access systems, resident communication requirements and site safety controls.
For strata properties, staged delivery may be preferable where access, resident amenity or budget requires works to be sequenced. That can be sensible, provided the stages are based on a coordinated remediation strategy rather than treating each complaint as an isolated event. In some cases, a whole-of-building solution is the more economical long-term option because it addresses interfaces and latent defects consistently.
Keep a clear chain from finding to completion
Once works commence, the original investigation should remain a live project document. Site conditions can expose further deterioration or reveal details that were inaccessible during the initial assessment. Variations should be assessed against the established failure mechanism, not treated as an excuse to dilute the repair outcome.
Quality assurance is central to this process. Hold-point inspections, photographic records of concealed work, substrate checks, membrane testing, concrete repair verification and final documentation provide evidence that the specified solution was installed. They also give owners corporations and asset managers a clearer basis for future maintenance planning.
At Remedial Building Practitioners, this investigation-led approach supports coordinated delivery from diagnosis through to construction. It keeps engineering intent, compliance requirements and on-site workmanship aligned around the same objective: extending the building’s safe, functional service life.
A defect rarely becomes less complex by waiting for the next storm, the next tenant complaint or the next budget cycle. Begin with evidence, define the cause with the right level of certainty, and let the repair scope follow the facts.